Here are a few before and after of the study. Here is the story of how we stained the floors. The first pictures are of the realtor walk through almost 10 years ago. Then there are pictures after I painted beige and left it like that for a while. It was kind of the dumping grounds of the house. Every odd piece of furniture and stack of tile got stored there, then we refinished the floors and added a bathroom in late 2012, early 2013. The last pictures are of the room currently.
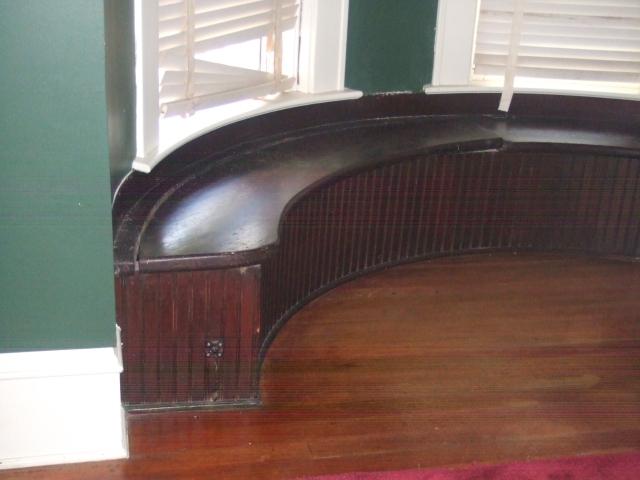
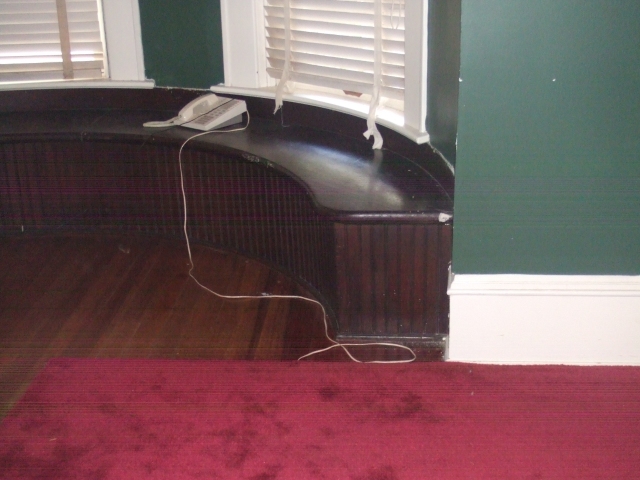
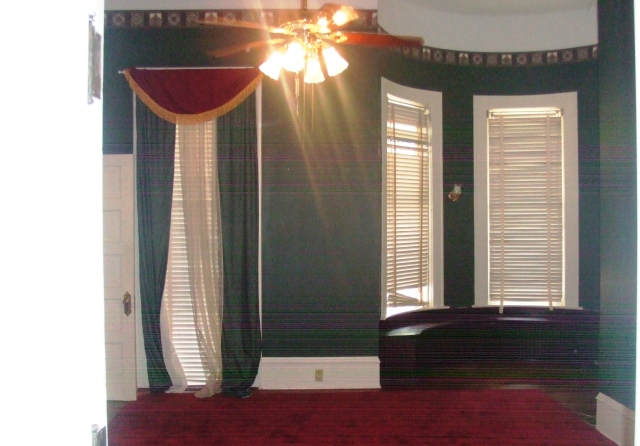
REALTOR WALK THROUGH 2006
THE DUMPING GROUNDS FOR A WHILE
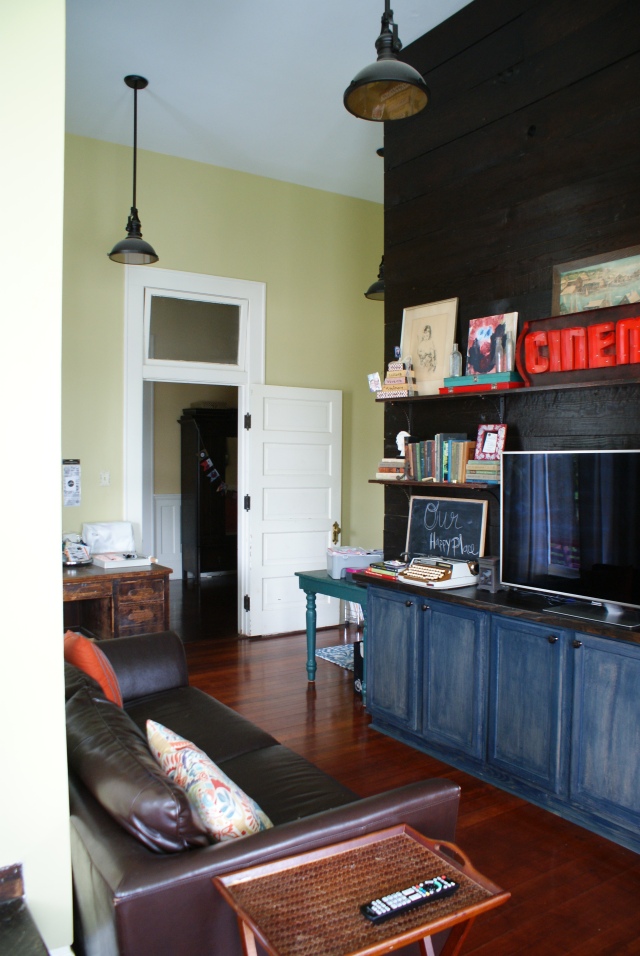
FRAMING UP A BATHROOM, CREATING AN INTEREST WALL, AND CHANGING THE ROOM ENTIRELY
I hate to even make an announcement that we are finally finished, after 8 plus years of work (and lots of breaks in between :-D), because as our luck would have it, something big would break…perhaps a geyser in the yard? Or, a random safe falling from the sky making an obscene hole in the roof (hey, I’ve watched the road runner, it happens!). I also realize (cue shaking the head and wiping tears) that you are never *really* done when it comes to old house upkeep. So, maybe I can say that we are done…for now. Will that suffice?
I’ve had a lot of requests for updated pictures and more in depth before/after. In preparation for our appraisal tomorrow, I have cleaned the house and fixed quite a few cosmetic bo-bo’s (I am sure you will find quite a few more I didn’t fix), so I thought it a perfect time to take some 360 videos. Are you game? I will do some before/after photo blogs when I get around to it later this summer.
I only videoed the master bedroom, hall, living areas and kitchen. I’m not brave enough to show the kids’ rooms and who wants to see bathrooms? Coming up tomorrow will be porch and exterior tours. I thought it was fun (and a whole lot easier than taking pictures!) and I can also use it for insurance purposes should that Acme safe ever fall out the sky.
If you are new and would like to see some before pictures, you can search for “realtor walk through”, click on the name of the particular room you want to view in the cloud tag, or click on “before and after”. That should get you some really old photos to look at and compare how far we have come. Here is a post I did right after we updated our major systems (roof, plumbing, paint, mostly exterior projects).
I ordered the videos so that if you watch them in the order I posted them, you will feel that you are walking with me, or at least can make sense of the floor plan. Here you are! Tell me what you think!
PS: Note to all the perfectionists: ignore those cosmetic blemishes.
Note to old house purists: yes, I know I don’t have velvet curtains and Victorian tchotchkes. “Museum style” has never really been my thing.
Note to people who want paint colors: I will publish all paint colors in a future blog post when I do the final before/after pairings.
Did I cover it all? Leave a comment if not 🙂
Master Bedroom:
Small weird hall and the back of the Great Hall:
Front of the Great Hall, study, living room and dining room:
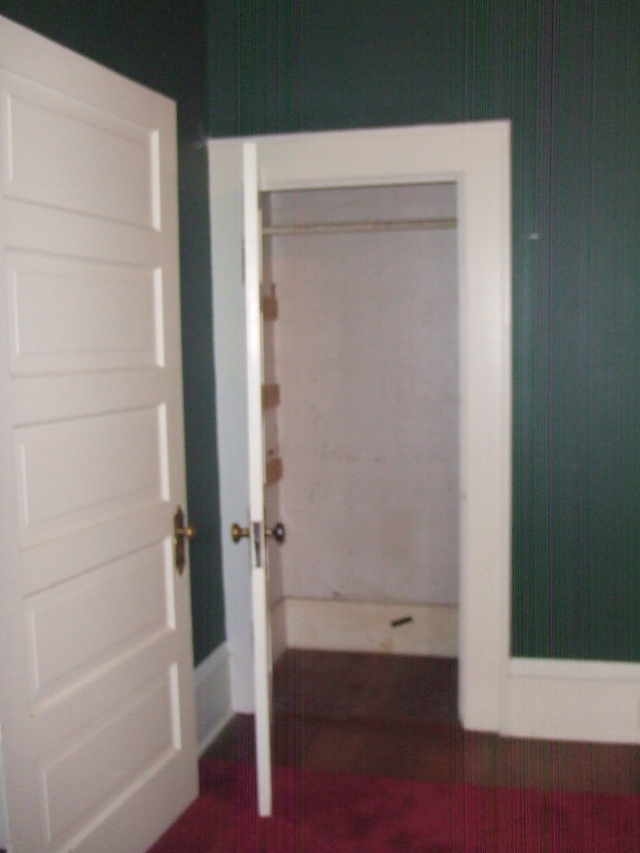
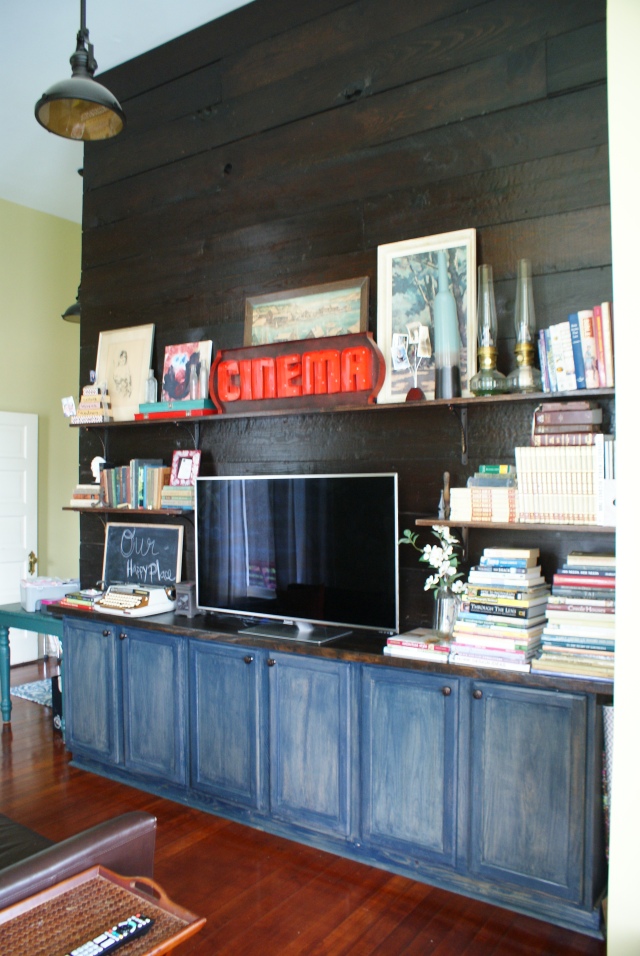
And….the tada! Not sure how I went from having the whole room to myself to having a corner. The closet is my new “craft room”. The wood wall was from reclaimed wood from the attic. We had to take up boards to update the electricity and they were too splintered to put back. So we repurposed them here. It also helps make it look less strange that we bumped a wall out to add a bathroom.
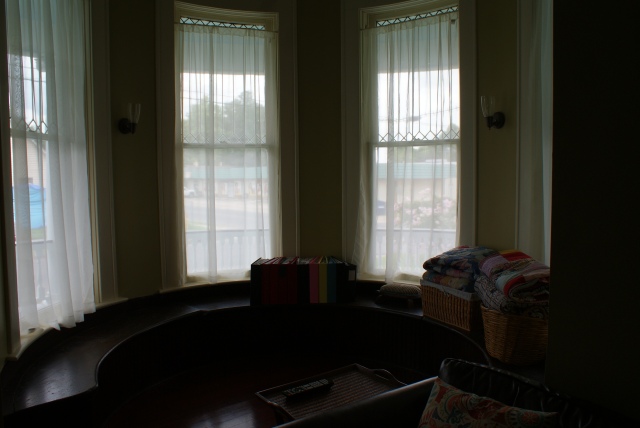
The round window seat is so much more user friendly. The light is beautiful during the day and makes for a great place to study.
Now I can say that one room in the house is completely finished! Ha! Next we will move furniture and refinish floors throughout the rest of the house.
Left on our list: update kitchen counters and sink; strip paint from front hall wainscoting to show original burly pine, refinish exterior wood doors, some exterior touch up paint, front flower beds and porch furniture/beautification, and clean up back yard of all construction materials.
We also have the back porch and some brick work to do, but that is being hired out and will be complete this summer. I am really excited about our plans for the back porch. More about that soon.
Thank you to all my friends for their understanding. I have become quite a hermit over the last six months with so many projects going on. I hope to rejoin society again soon…hehe.
Thank you all for your encouragement and support. After 6 years we are finally seeing a light at the end of the tunnel.
Just finished putting the last coat of poly on the floor. I’ll be able to move in next week. Yay! These are the pictures of the study evolution from the first being the realtor walk through picture and the last one is from today. I will take more pictures after I move in and get everything settled. But, I love before and after pictures and know you do too. Here you go!
This is the way it stayed until late last year
This is how it looked for the past 5-6 years. The junk/scrapbook room.
Bumped out Vivian’s bathroom, removed the fireplace. It didn’t work. All of the chimneys were removed at some point in the past.
Recycled 100+ year old wood pieces to make a wood interest wall. Plan to put up shelving to house our book collection.
Interest wall stained and polyurethaned
Sanding the floors getting ready for stain and poly
Started staining to see what the color would look like. Minwax Red Chestnut.
The color came out pretty good, nice and even
Time for poly!
Looking pretty good!
Tada!
This picture shows the biggest difference in the floor. Can’t wait until it dries. I am trying hard not to go in there and touch it.
Now, on to refinish the floors in the rest of the house! This was the “test” room.