This has been long overdue. I am now going to post the before pictures of the house when we first walked through it in 2006 prior to purchasing and the pictures as it looks presently. I thought I would start with the kitchen as it has undergone the biggest transformation.
When we first bought the house, the kitchen had carpet in it. We took up the carpeting and the tile underneath it was really not in great shape, but it was better than carpet. So, it stayed black and white tile for a long time. Eventually, we moved the butler pantry back where it belonged and framed a wall up and added a laundry room. For more details and pictures regarding the entire process, click on the tag: kitchen.
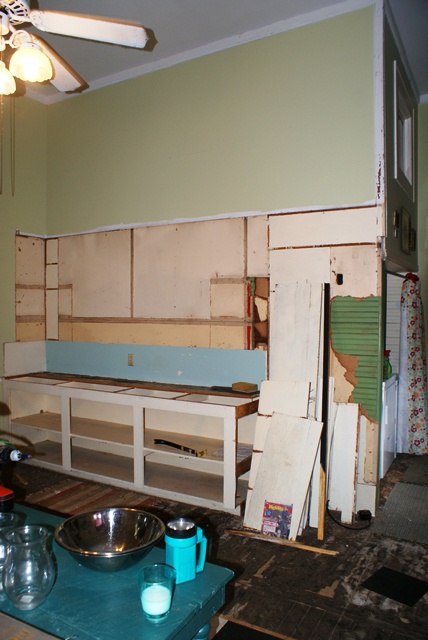
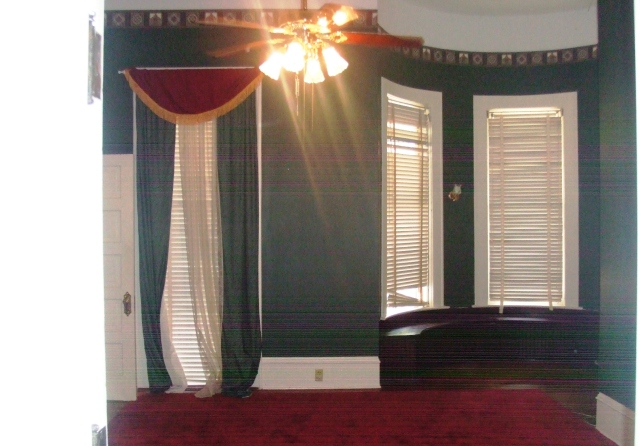
Here are the before pictures. We took down the fabric that stapled to the walls. I was able to wash the red acryllic paint off of the cabinets. And the kitchen largely stayed like this from 2006-2010 until we were able to complete renovate.

SONY DSC
I sanded the laminate counter top, super primed it then painted it a stone fleck black. Here are some transitional pictures during that timeframe before the full remodel:

SONY DSC

SONY DSC

SONY DSC
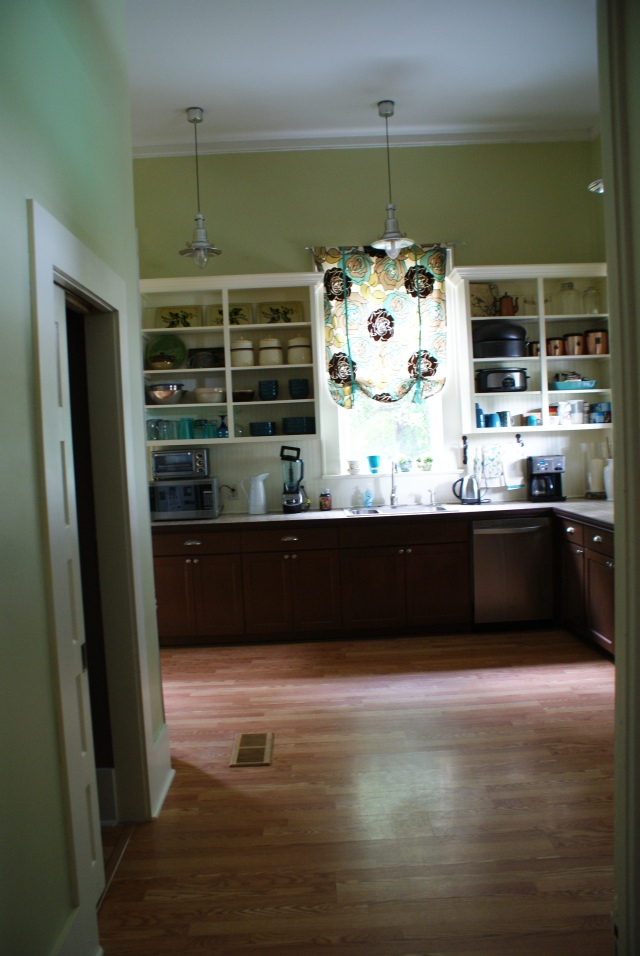
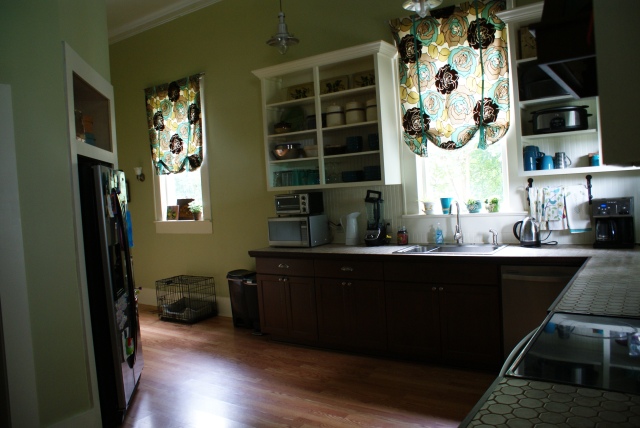
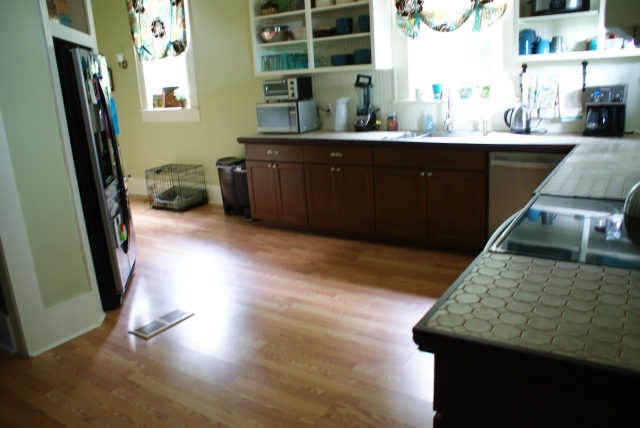
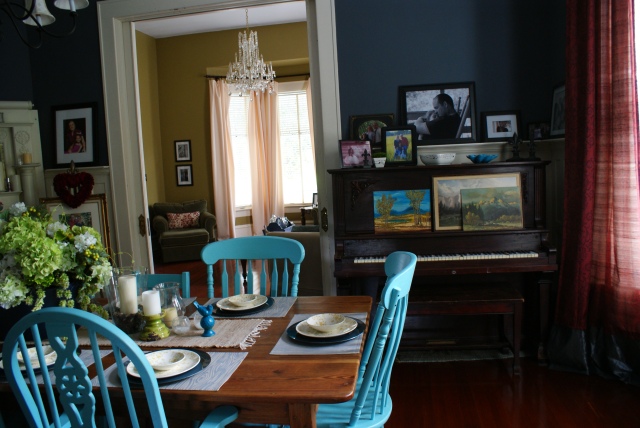
And…here are the final “after” pictures and how the kitchen presently looks. We built custom open shelving cabinets, painted the bottom cabinets, took down the wall of cabinets on the back wall. Pulled down the sheetrock and exposed the original beadboard, framed up a laundry room and moved the butler’s pantry that had been hacked out and set behind the door–back to its original home in between the kitchen and dining room. Here is the link to the full write up: Click Here.
The demo:


Ripping out the cabinets, Steven and Vivian taking the doors off

The washer and dryer are where the cabinet is supposed to be

Butler’s pantry/cabinet
Mostly gone

Where a wall used to be in the kitchen


Kitchen gutted
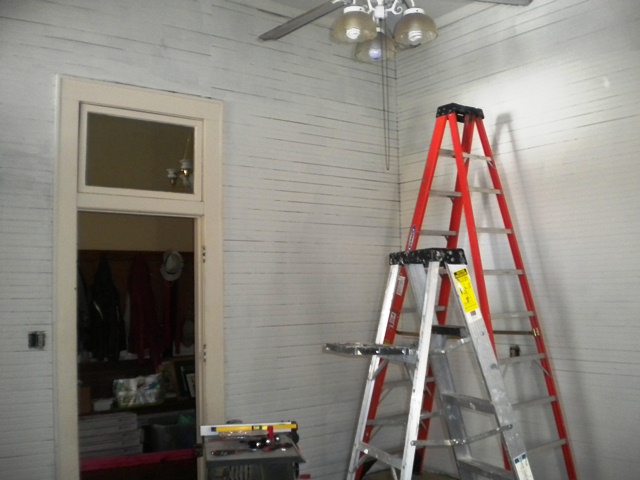
The same wall…cleaned and primed (Super duper KILZ!)

The framing going up!

Painted and the floor down


Where the butler pantry is supposed to be

Right before we moved it and put the floor down

moved the washer and dryer

installing the cabinet


Framing up the laundry room

Sheetrocking laundry


The in between:

This is where the butler pantry was. We moved it back, now we want to make a built in pantry in this area.
And here are the final pictures:

SONY DSC

SONY DSC
SONY DSC
SONY DSC
SONY DSC

SONY DSC

SONY DSC

SONY DSC

SONY DSC

SONY DSC

SONY DSC

SONY DSC
Here is a video I posted on Youtube right before our house was appraised in 2014. I took advantage of everything being picked up and nice and neat: https://youtu.be/avBTQc8bBIE
Hope you had fun! The next post will be up in a couple days of the next room. I will continue until all rooms are shown.


")
")


")
")
")
")
")


